PR2 Virtualization
Virtual host environment for testing PR2 packages on different distros.
Setting up the Host machine:
Before getting started, you'll probably be working on some Ubuntu Server, so you'll need a GUI for managing the virtual machines. This is done by enabling xforwarding in /etc/ssh/sshd_config, and ensuring that: X11Forwarding yes is in there. Then you can run ssh -Y user@serverip to have a GUI pop up when messing around with the Virtual Manager.
You'll also need an .iso image to use to install to the virtual machine. Easiest way to do so is to run the following command (for 64-bit Ubuntu 16.04 Server): wget cse.unr.edu/~ajaniburgos/ubuntu-server.iso
Setting up a Virtual Machine:
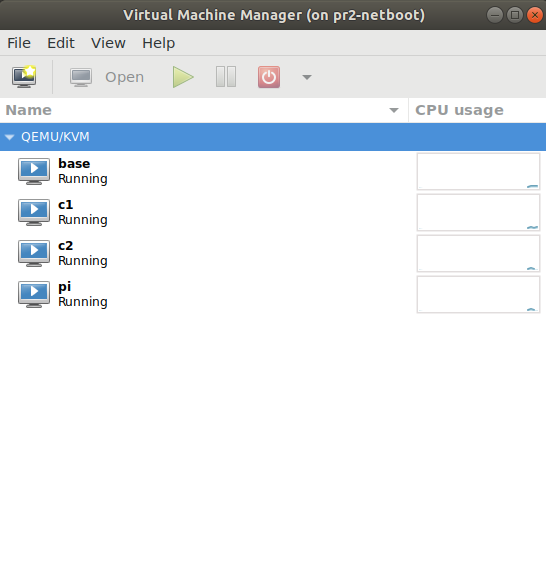
On your big boi host machine, run: sudo virt-manager
Something like this will show up, this is the general virtual machine manager we'll be using for our network. Click on 'Create a new virtual machine' on the top-left corner, and then follow along like so:

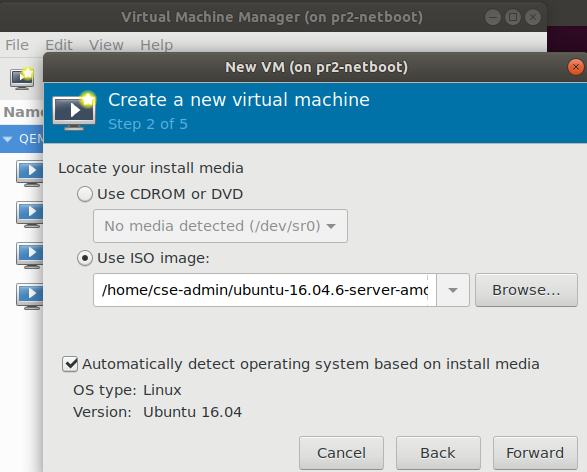
Browse for the filepath of the .iso you're using for the VMs
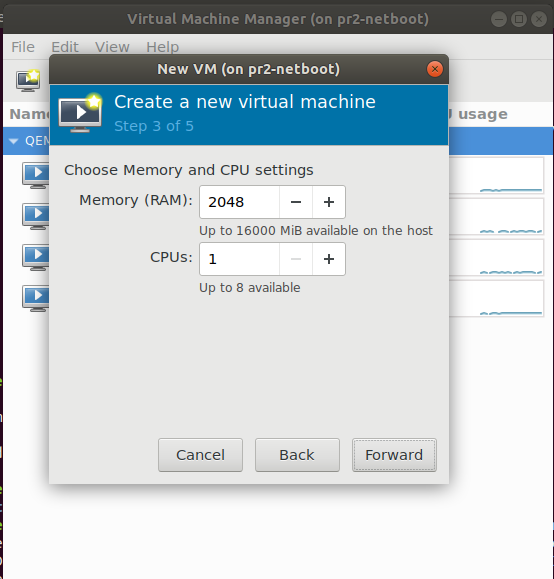
Specify the amount of memory and processor cores being used for the VM
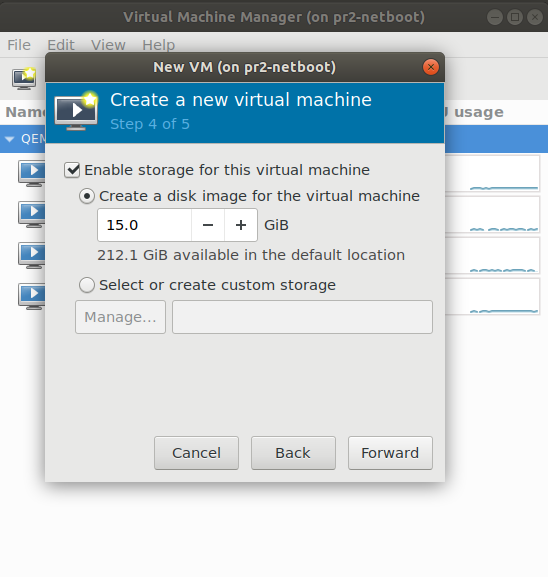
Specify the hard drive space allocated for the VM to use for storage
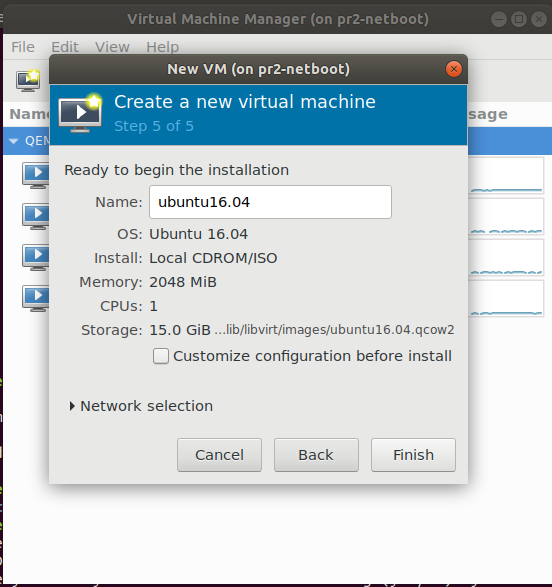
Specify the name that you will refer to that VM as, and double-check that everything looks good
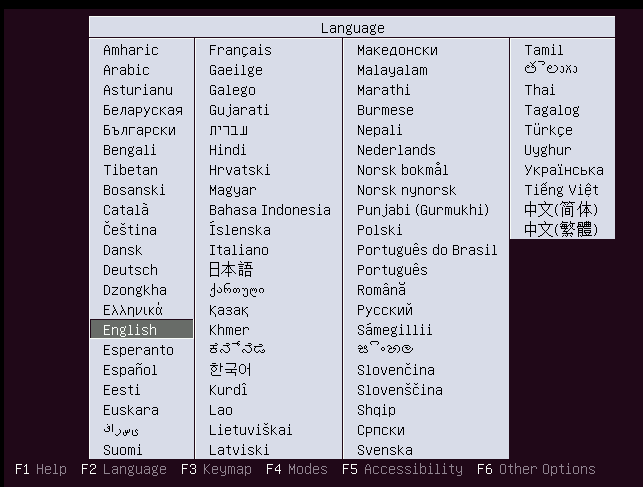
Go through the installation process in the VM that pops up
Setting up one VM and then cloning is the best method to set up a virtual network, as you won't need to sit through the installation process on each VM, unless you want to use different operating systems on each VM. To clone a VM, simply right-click the VM in virt-manager and click 'Clone'. A window will pop up like this:
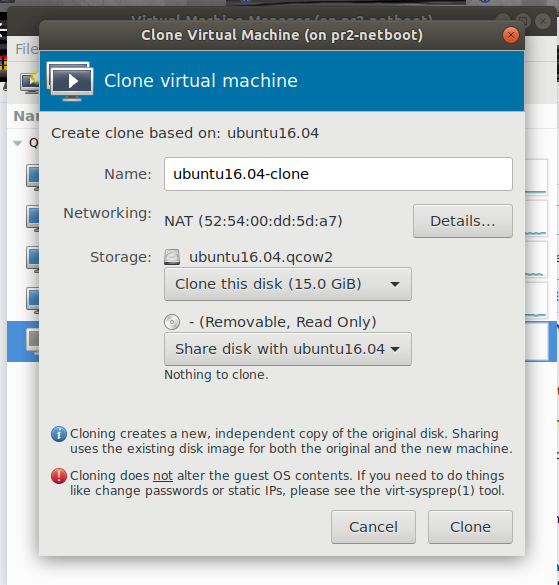
Specify the name of the VM. The machine itself will be an exact copy, so make sure to update the hostname and any other necessary information when you boot into the VM itself
Setting up Your Virtual Network
--Internal Network--
We'll need to add virtual bridges, we'll be using openvswitch to create our bridge: sudo apt install openvswitch
We'll be using virsh to manage our virtual network: sudo apt install virsh
Creating our virtual bridge
sudo ovs-vsctl add-br br0
Making sure our bridge shows up
sudo ovs-vsctl show
Configuring VM network settings
We'll be using virsh from here on out, use sudo virsh list to show all the VMs that are up and running.
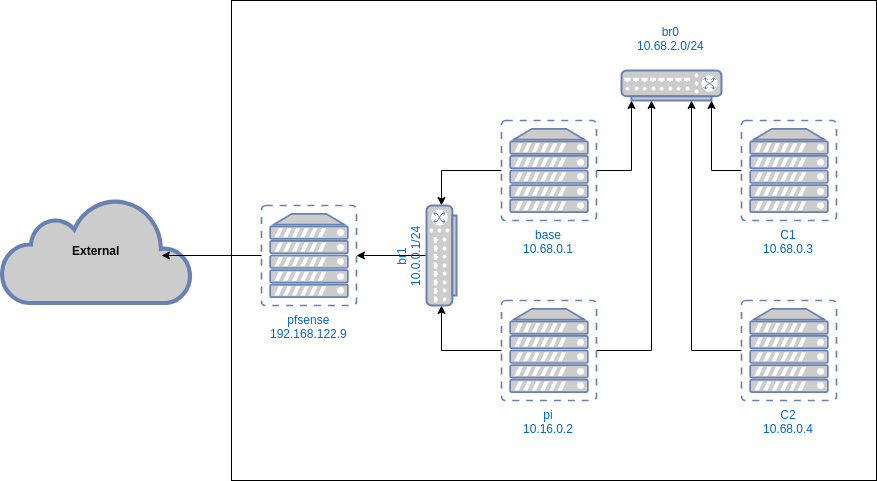
As per the network configuration picture above, we see that base and pi VMs are connected to the external network, and c1 and c2 are internal. We use the bridge, br0 to connect each machine to the internal network.
sudo virsh edit <vm-name>
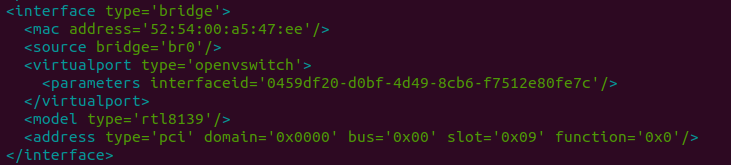
Look for a bridge interface section, and change your source bridge to 'br0', and add the section: <virtualport type='openvswitch' />(don't worry about the parameters, virsh will handle that for you), like so:
Click on the "i" icon, change the NIC(could be named Network) on the left column that currently exists. Change the Network source to "Specify shared device name", type in "br0" for the bridge name, and change the device model to "virtio", like so:
--External Network--
Before setting up our network, we'll need to set up a virtual router so that we can lease IPs for our external network, and an extra bridge to connect our external nodes.
Adding our bridge...
sudo ovs-vsctl add-br br1
To create our router, we'll be using pfSense, go through the process of creating another virtual machine detailed above, but use the .iso image for it.
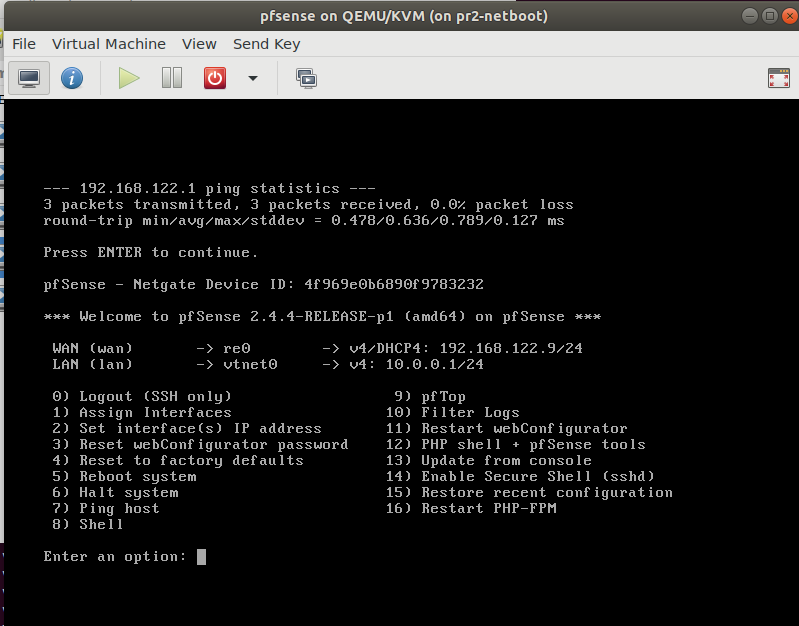
On pfSense, we'll need to set up 2 interfaces: our WAN will be using re0, and we'll initialize it using DHCP/IPv4. This is what we'll use to communicate out of the network.
Our LAN will be using vtnet0, and we'll also be using a static IPv4 address, in our case, 10.0.0.1, make sure to enable DHCP. You should end up with this:
To get the external nodes online, we'll need to add the extra NICs (which has been physically plugged in to the host machine).
NOTE: Make sure the VMs are turned off before modifying anything, else the changes won't take place afterwards
Go back to virt-manager, and Open your external nodes, in this case, we'll use base:
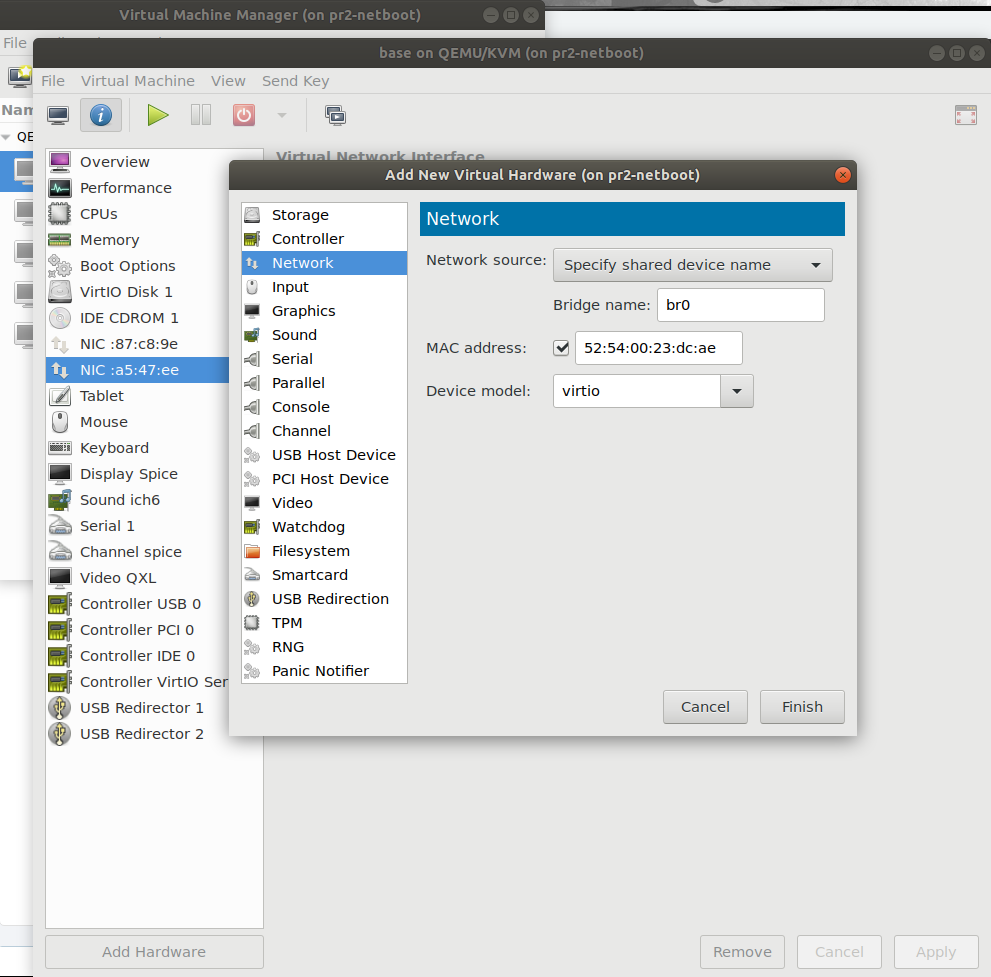
Click the 'i' icon on the top left corner, and in that menu click on "Add Hardware" at the bottom of left corner, in the window that pops up, click on "Network", change the Network source to "Specify shared device name", the Bridge name as "br1", and the Device model as "virtio"
Repeat this process for pfSense, since you'll need one NIC to communicate outside, and the other to communicate to br1.
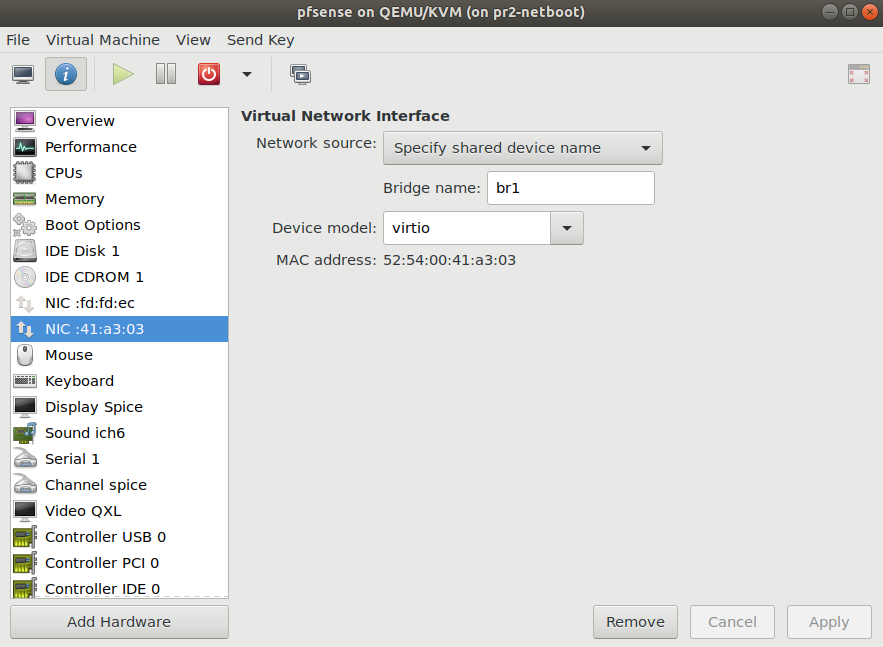
Afterwards, you'll want to follow the same step detailed above where you sudo virsh edit <vm-name>, simply copy the bridge configuration that was made earlier for the internal network but use br1 for your bridge source, as well as update the MAC address (found in virt-manager).
After that, restart the VM's and double-check that the network works: Can you ping the internal nodes, and can the external nodes ping outside of the network?
- Last Author
- ajanib
- Last Edited
- Mar 22 2019, 3:12 PM