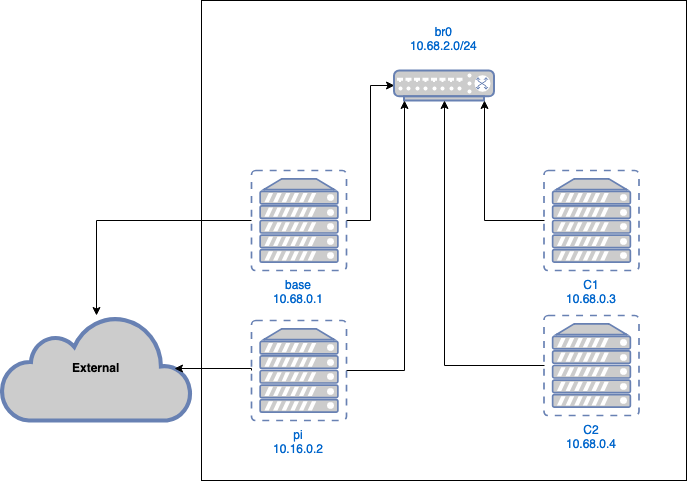
PR2 Virtualization
Virtual host environment for testing PR2 packages on different distros.
Setting up the Host machine:
Before getting started, you'll probably be working on some Ubuntu Server, so you'll need a GUI for managing the virtual machines. This is done by enabling xforwarding in /etc/ssh/sshd_config, and ensuring that: X11Forwarding yes is in there. Then you can run ssh -Y user@serverip to have a GUI pop up when messing around with the Virtual Manager.
You'll also need an .iso image to use to install to the virtual machine. Easiest way to do so is to run the following command (for 64-bit Ubuntu 16.04 Server): wget cse.unr.edu/~ajaniburgos/ubuntu-server.iso
Setting up a Virtual Machine:
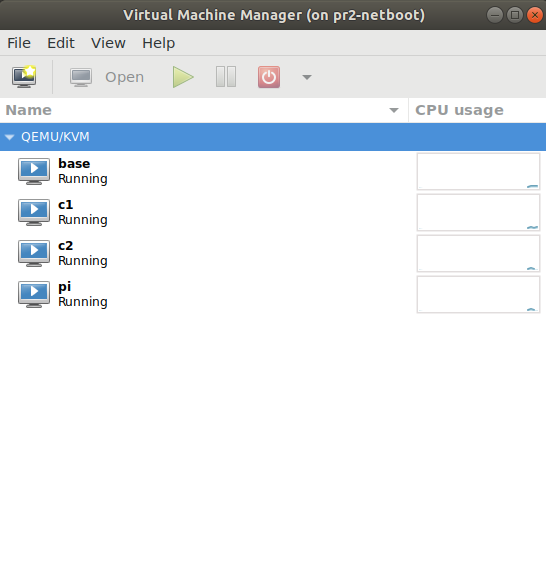
sudo virt-manager
Something like this will show up, this is the general virtual machine manager we'll be using for our network. Click on 'Create a new virtual machine' on the top-left corner, and then follow along like so:

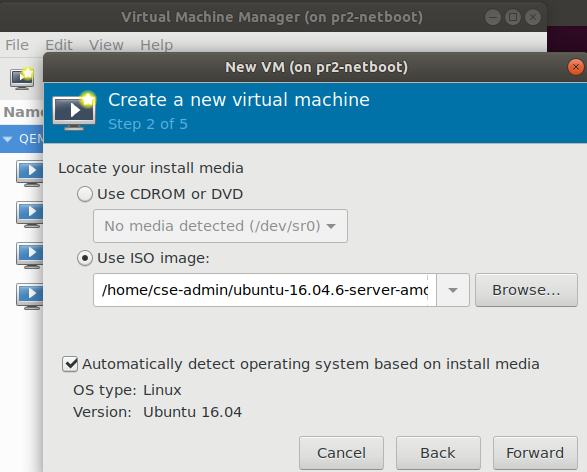
Browse for the filepath of the .iso you're using for the VMs
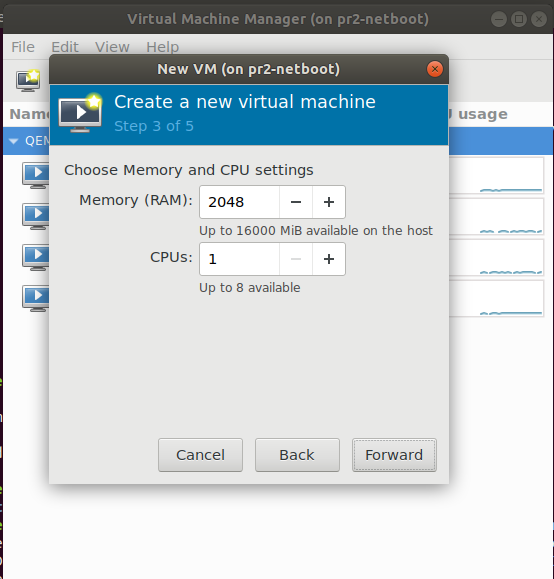
Specify the amount of memory and processor cores being used for the VM
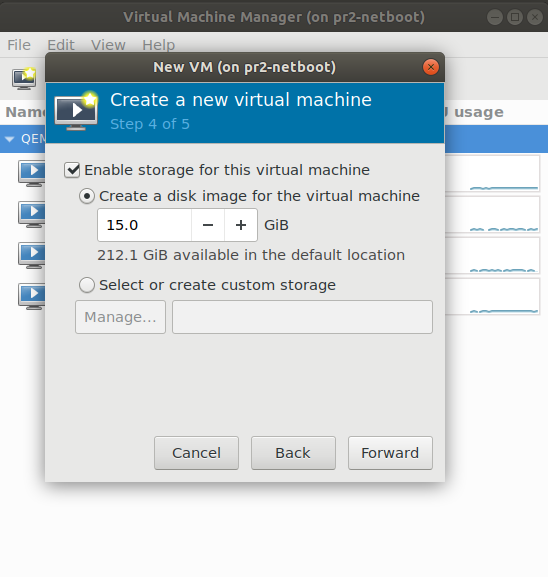
Specify the hard drive space allocated for the VM to use for storage
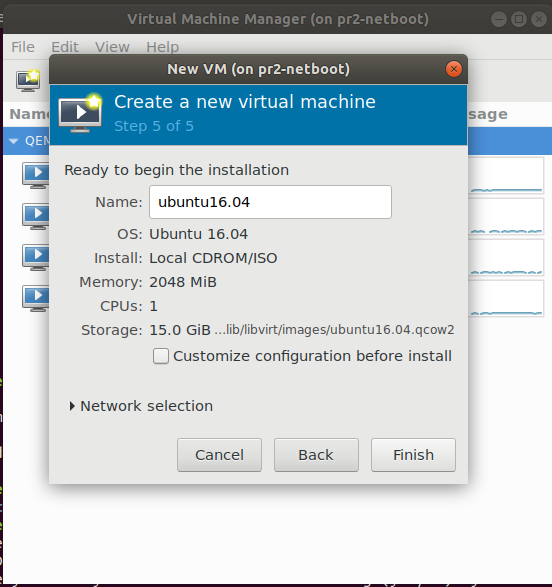
Specify the name that you will refer to that VM as, and double-check that everything looks good
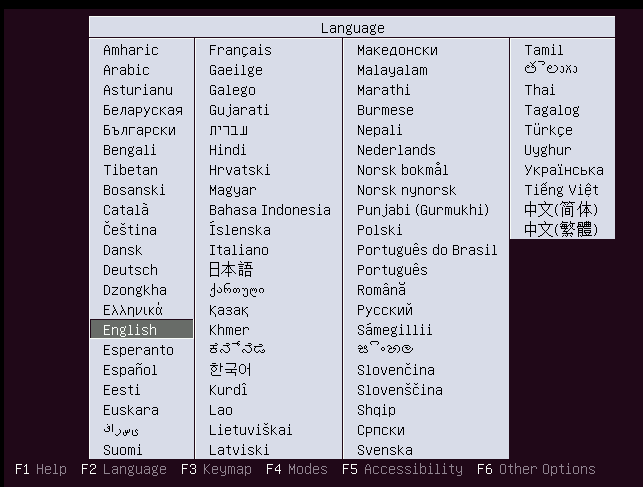
Go through the installation process in the VM that pops up
Setting up one VM and then cloning is the best method to set up a virtual network, as you won't need to sit through the installation process on each VM, unless you want to use different operating systems on each VM. To clone a VM, simply right-click the VM in virt-manager and click 'Clone'. A window will pop up like this:
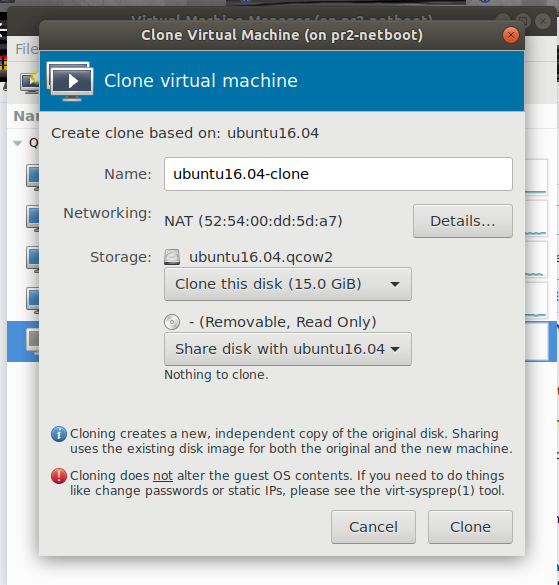
Specify the name of the VM. The machine itself will be an exact copy, so make sure to update the hostname and any other necessary information when you boot into the VM itself
- Last Author
- ajanib
- Last Edited
- Mar 12 2019, 3:43 PM